
Understanding Outdoor Lighting Installation
What Wiring Outdoor Lights Involves
Wiring outdoor lights includes planning the lighting layout, selecting appropriate fixtures, running electrical cables, and ensuring all connections are properly sealed against weather. It also involves connecting to a power source that is rated for outdoor use and making sure the entire system meets electrical code standards. Unlike indoor installations, outdoor wiring must withstand exposure to moisture, temperature changes, and other environmental factors.
Types of Outdoor Lighting You Might Install
Security Lights
Security lights are designed to illuminate large areas and deter potential intruders. They often include motion sensors and require a stable power source to function reliably at all times.
Landscape Lighting
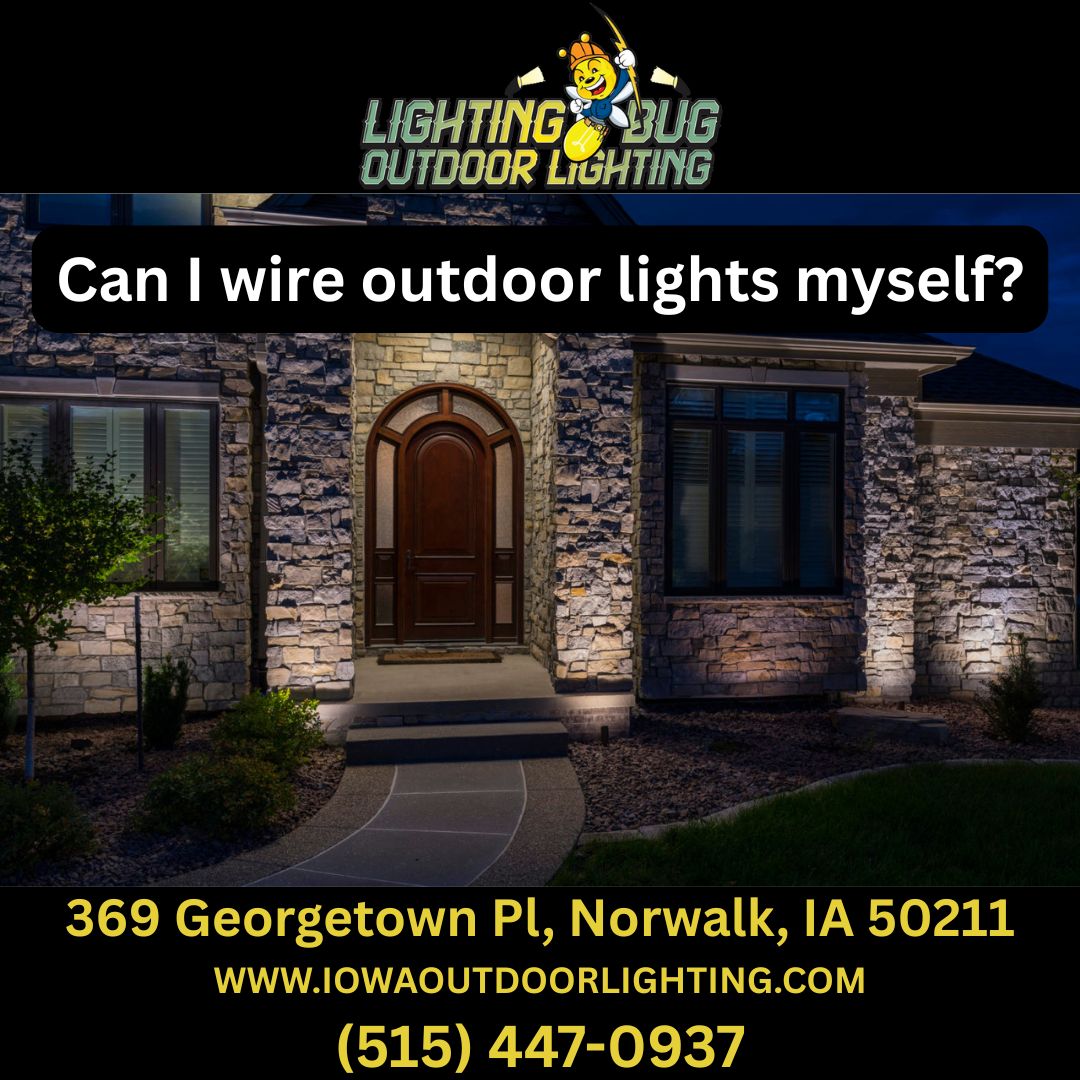
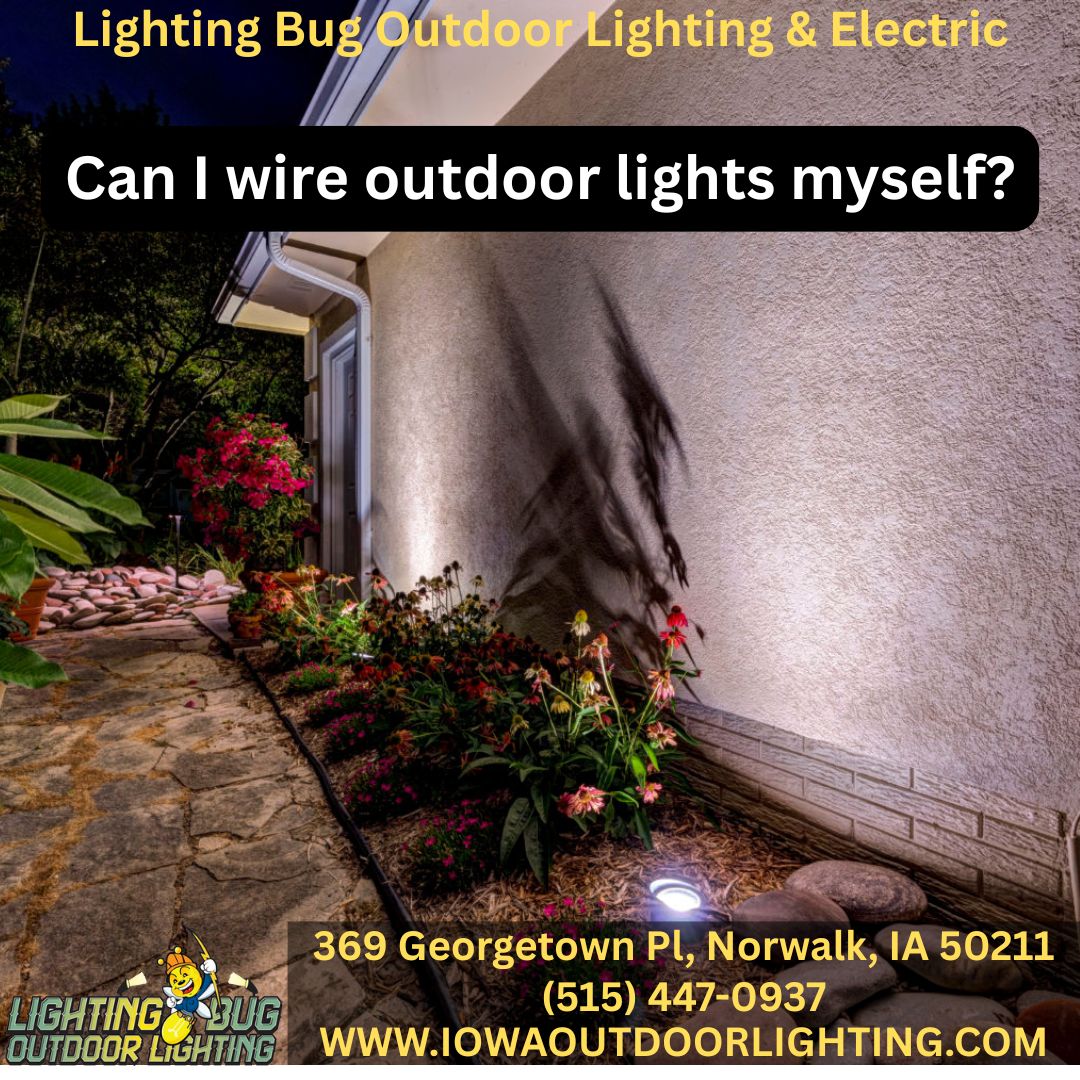
Landscape lighting highlights trees, plants, and architectural features. Wiring these fixtures often requires strategic placement of cables to avoid damaging landscaping while providing even coverage.
Pathway and Driveway Lights
These lights provide safe navigation for walkways and driveways. They usually require careful spacing and consistent power delivery to maintain uniform brightness along the path.
Safety Considerations Before You Begin
Electrical Safety Basics for Homeowners
Always turn off the power at the breaker panel before working on any electrical project. Use a voltage tester to confirm that the circuit is off. Wear insulated gloves when handling wires and keep your work area dry to prevent accidental shocks.
Common Hazards When Wiring Outdoor Lights
Risk of Electric Shock
Moisture significantly increases the risk of electric shock. This is why outdoor wiring requires proper insulation and weatherproof connections.
Fire Hazards
Poorly connected wires or using the wrong type of cable can lead to overheating, which in turn can cause fires. Always use wiring rated for outdoor use and follow manufacturer instructions.
Weather and Outdoor Exposure Risks
Rain, snow, and temperature changes can damage improperly installed wiring. Without proper sealing and protective covers, these elements can shorten the lifespan of your outdoor lighting system.
Tools and Materials You’ll Need
Essential Tools for DIY Outdoor Light Wiring
Basic tools include a screwdriver set, wire strippers, voltage tester, drill, and a shovel for underground wiring. Safety glasses and gloves are also important to protect yourself while working.
Choosing the Right Cable and Connectors
Use outdoor-rated electrical cables and weatherproof connectors. These are designed to resist moisture, UV rays, and temperature fluctuations, ensuring a safer and longer-lasting installation.
Outdoor-Rated Fixtures and Equipment
Select fixtures specifically designed for outdoor use. They should have a weather-resistant housing and be rated for the environmental conditions in your area.
Step-by-Step Guide to Wiring Outdoor Lights
Planning the Layout and Power Source
Map out where each light will be placed and identify a safe and reliable power source. Consider how cable runs will be routed to avoid obstacles and potential damage.
Turning Off Power and Preparing the Work Area
Switch off the power at the breaker before starting. Clear the area of debris and make sure you have easy access to the wiring route.
Running and Connecting the Wires
Run the electrical cable from the power source to each fixture location. Secure the cables along the route and use waterproof junction boxes where connections are needed.
Mounting and Sealing Fixtures
Attach fixtures securely according to manufacturer instructions. Apply weatherproof sealant around mounting points to protect against moisture intrusion.
Testing Your Outdoor Lights
Once everything is connected, turn the power back on and test each fixture to ensure proper operation. Make adjustments as needed to improve coverage and performance.
| Key Steps | Details |
|---|---|
| Plan Layout | Decide placement and wiring routes before starting |
| Turn Off Power | Shut off breaker and confirm with voltage tester |
| Run Cables | Use outdoor-rated wiring and connectors |
| Mount Fixtures | Securely attach and seal against moisture |
| Test Operation | Check all lights before finalizing installation |
When to Call a Licensed Electrician
Signs Your Project May Be Beyond DIY
If you encounter complex wiring, need to install new circuits, or are unsure about code requirements, it is best to call a professional. Mistakes in electrical work can be costly and dangerous.
Code Compliance and Permit Requirements
Some areas require permits for electrical work, especially when adding new outdoor circuits. A licensed electrician will be familiar with local regulations and can ensure your installation meets safety standards.
Benefits and Drawbacks of DIY Outdoor Light Wiring
Advantages of Doing It Yourself
Completing the project yourself can be satisfying and allow you to customize your lighting exactly as you want it. It also offers a chance to learn more about your home’s electrical system.
Potential Downsides and Risks
Without proper skills and tools, you risk creating safety hazards or damaging your property. Incorrect installations can lead to frequent outages, short circuits, or reduced fixture lifespan.
Final Thoughts on Wiring Outdoor Lights Yourself
Installing outdoor lighting can be a rewarding project if you have the right skills, tools, and safety knowledge. However, the risks of electrical work should not be underestimated. If you are uncertain at any stage, it is worth seeking help from experts who can ensure the job is done safely and effectively. Lighting Bug Outdoor Lighting & Electric has the experience and knowledge to provide safe, beautiful, and long-lasting lighting solutions. For a reliable installation that enhances your property and meets safety standards, consider reaching out to their team for professional service.